load originals and load paper
You can make copies from originals loaded in the automatic document feeder
(ADF). You can also print and copy onto a variety of paper types, weights,
sizes, and transparency films. It is important, however, that you select the right
paper and make sure that it is loaded correctly and not damaged.
load originals
You can copy or scan any original by loading it in the ADF.
If you are working with originals that are printed on 16-24 lb. (60-90 gsm) plain
paper or HP Premium Inkjet Paper, you can load more than one in the ADF. If
you are working with photos or originals of an odd size (no smaller than
3.25 x 3.25 inches or 82 x 82 millimeters), load them in the ADF one at a time.
When working with fragile, torn, or odd-sized originals, we recommend that
you use a document sleeve or sheet protector (available from most office-product
stores) for the original. Place a single sleeve into the ADF with the sealed edge
first and the transparent side down.
Note: If you have trouble with originals feeding incorrectly, make sure the
ADF tray is snapped into position.
1
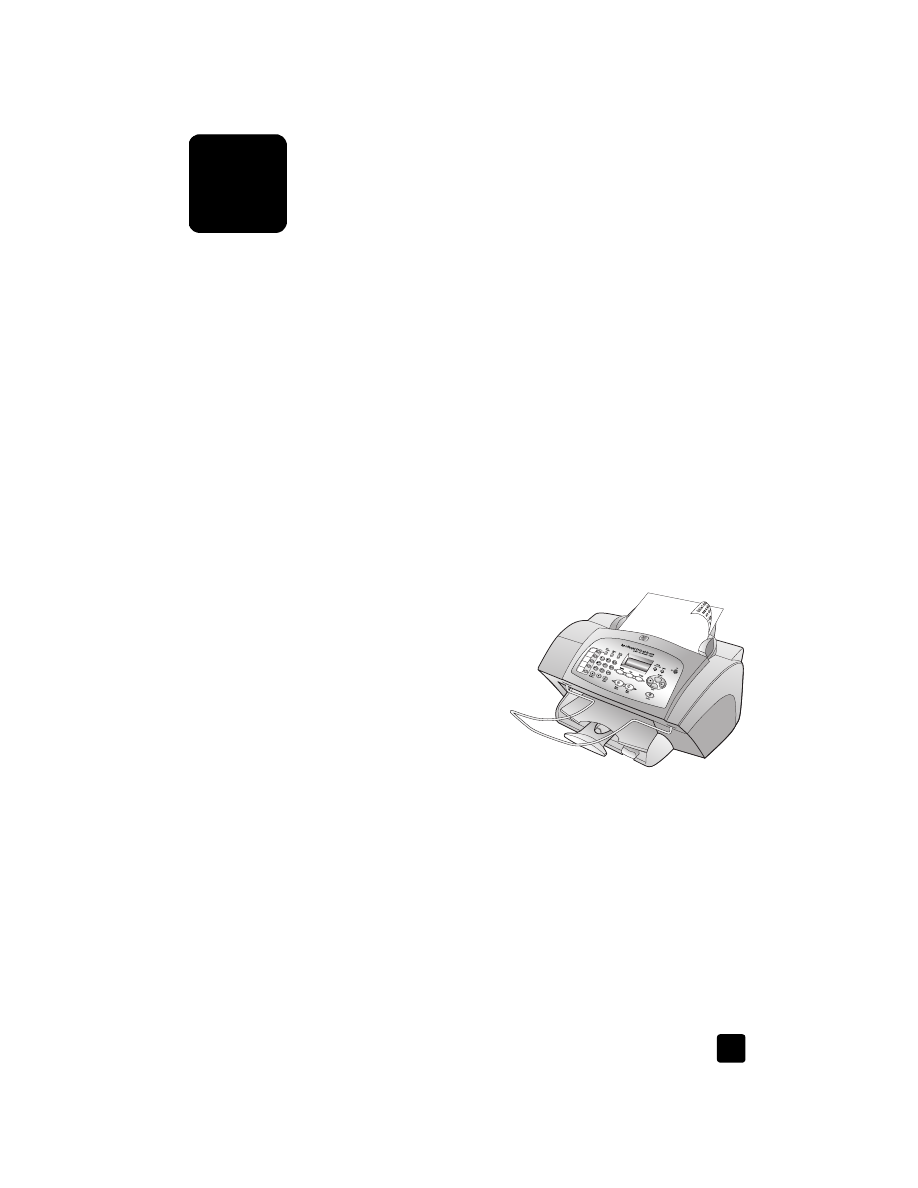
Place the original(s) in the ADF
with the printed side facing
toward the back and with the
top of the document pointing
down.
2
Adjust the document guides to
fit your document.
load paper
Following is the basic procedure for loading paper. There are specific
considerations for loading certain types of paper, transparency film, postcards,
and envelopes. After you review this procedure, see tips for loading other types
of paper in the paper tray on page 9 and load envelopes on page 9.
For best results, adjust the paper settings each time you change paper types or
paper sizes. For more information, see set the paper type on page 10.
hp officejet 5100 series
load originals and load paper
8
to load the input tray
1
Slide the paper-width and -length
guides to their outermost positions.
2
Tap the stack on a flat surface to
align the edges of the paper, and
then check the paper for the
following:
– Make sure it is free of rips,
dust, wrinkles, and curled or
bent edges.
– Make sure all the paper in the
stack is the same size and
type.
3
With the output tray raised, insert paper into the input tray until it stops.
The print side should be facing down, and the letterhead or top of page
should be facing forward. Do not overfill the input tray as this may cause
paper jams.
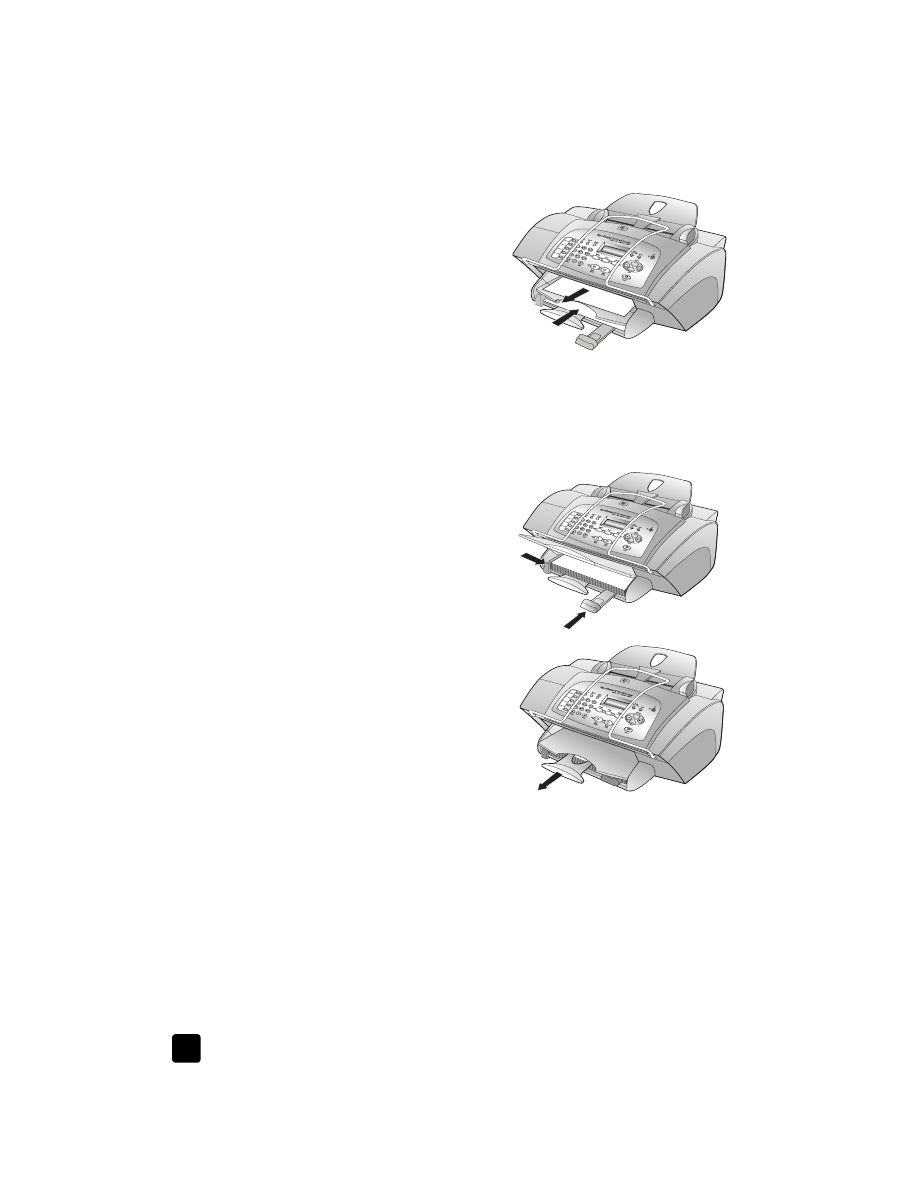
4
Slide the paper-width and -length
guides in until they stop at the
edges of the paper. Make sure that
the paper stack lies flat in the input
tray and fits under the tab of the
paper-length guide.
5
To prevent paper from falling off
the tray, fully extend the output-tray
extender.