replace the print cartridges
Front-panel display messages appear to let you know that you should replace
your print cartridges.
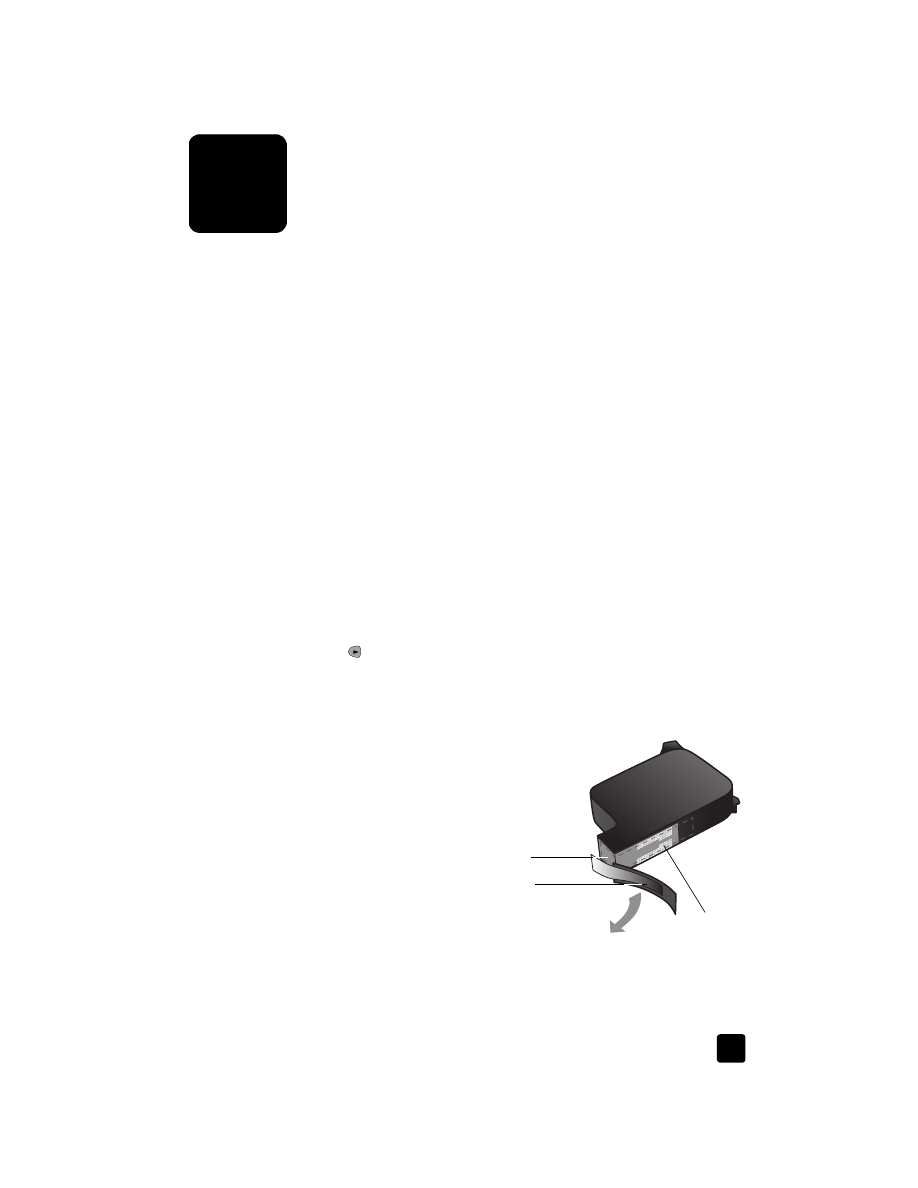
Ink nozzles
under tape
Copper contacts
Plastic tape
(must be removed)
hp officejet 5100 series
maintain your hp officejet
26
See order print cartridges on page 53 for information on ordering replacement
print cartridges.
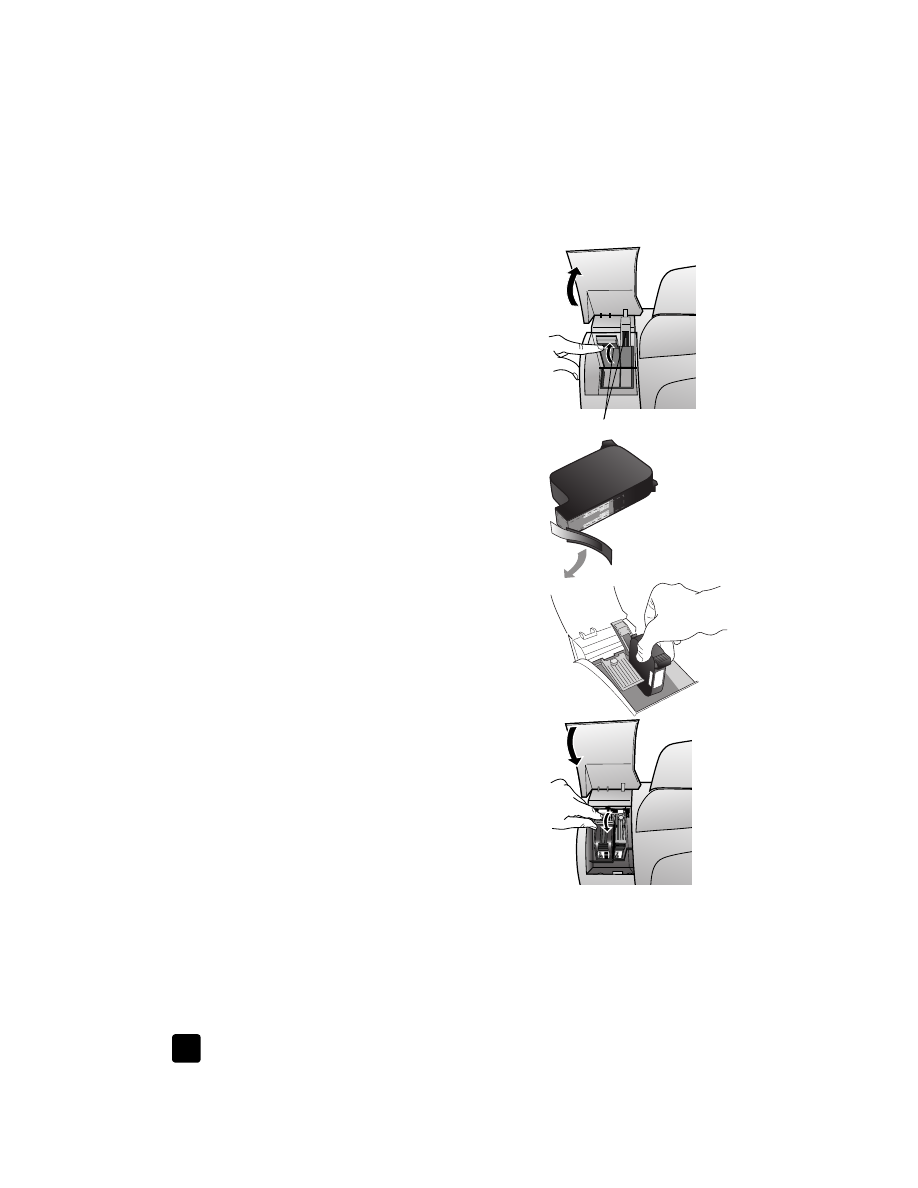
1
Turn on the HP Officejet, then open the print-cartridge access door.
2
The print carriage moves into view.
3
After the carriage stops moving, lift the
latch to release the print cartridge, then
pull it toward you out of its slot.
4
Remove the new print cartridge from its
packaging and, being careful to touch
only the black plastic, gently remove the
plastic tape.
Caution! Do not touch the copper
contacts or ink nozzles.
5
Push the new print cartridge into the
appropriate slot.
The tri-color (#78) print cartridge goes on
the left and the black (#15) cartridge
goes on the right.
6
Close the latch.
7
Close the print-cartridge access door.